


There are a few things I can guarantee you, new Skoolie builder. For one, you sure have your work cut out for you. Two, your windows are going to leak. Now there are two very clear solutions to this problem but unfortunately neither are particularly easy. The first option is to remove and reseal every single bus window (and you still may have leaks). The second option is to remove all windows and start fresh with new walls and more efficient and less leak-prone RV style windows. Let’s first talk about why you would decide to do either.
Now in a school bus conversion arguably the most sensible thing to do is in fact remove all windows and start fresh. There are several reasons for this. The first is that the shear volume of windows in a school bus leads to an interior space that is challenging to condition. In the summer the windows allow for too much hot air and solar gain and in the winter they are too drafty and let out too much heat. It would be sensible to have more insulated wall space and less windows. In addition the school bus windows create a potential layout dilemma. In most buses they limit your ability to locate and build walls, hang upper cabinets, and they are typically too low to not be blocked by lower kitchen cabinets. Now none of these are deal breakers although almost all converters will decide to remove or block off at least some windows in order to alleviate some of the above cons. But this is in contrast to the major advantages of having so many windows in your living space which is namely the feeling of being more or less outside when you are in fact inside with the ability to let in so much natural light and pleasant breeze. If it were always 70 degrees and sunny outside certainly keeping every window would be worth it, and if you find yourself comfortable indoors living from say 60 degrees to 90 degrees while adjusting your clothing and habits you might be able to travel around and in fact find those conditions most of the time in which case having a ton of windows is a pro and not a con!
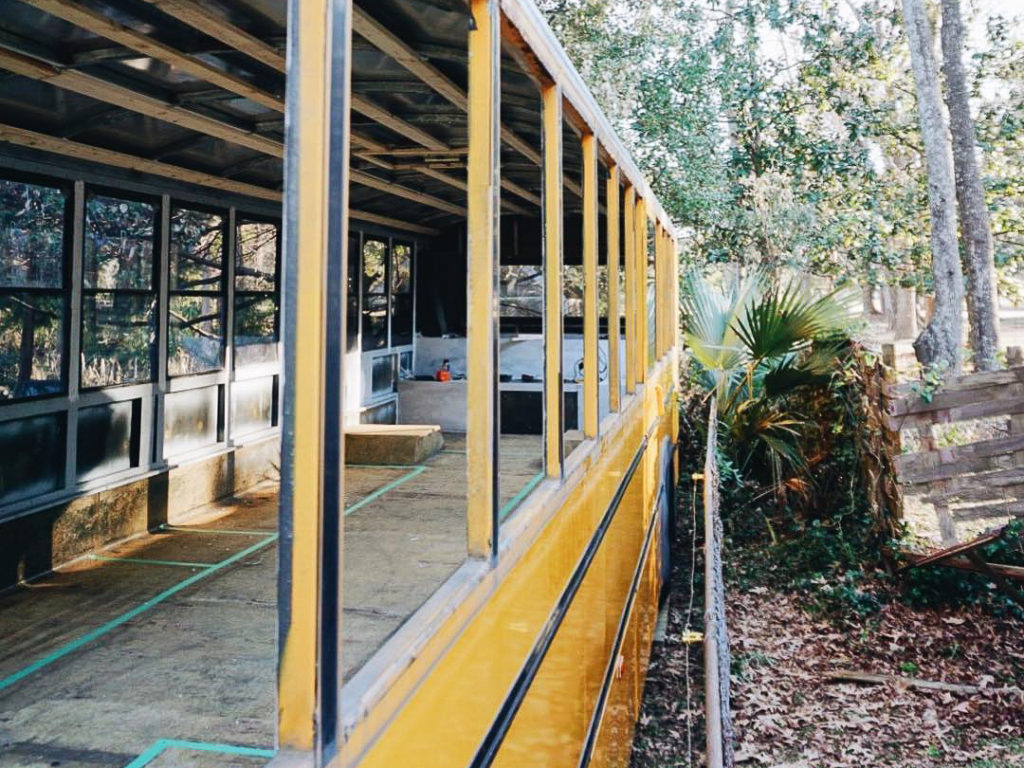
Now if you decide to keep your school bus windows but you expect to be in some rather hot or cold climates you do still in fact have the option to insulate those windows from the interior and wall them off which will allow for better conditioning, better location of walls etc. But if you decide to do that you’d better patiently alleviate every single leak and have a contingency plan if/when it leaks again some day. This is exactly what we did in building our bus conversion. We took this route primarily because given the rarity of our school bus we hoped to keep it as visually stock as possible from the outside. The secondary reason was the ease of doing so and the financial savings, but we did spend a great deal of time tracking down and fixing leaks.
In order to identify leaks you must imagine your bus driving down the highway at 60 mph into rain and then replicate it with a garden hose. Spray your windows from every direction while you have a helper stand inside and identify leaks. I’d say if you find leaks on at least a quarter of your windows than the course of action is to remove every single one of them. To do this, remove all visible screws/fasteners and then gently pry at the corners with a pry bar and slowly make your way down the sides of the windows and then the top and bottom. Be gentle and patient. You don’t want to break your glass! With the windows off, clean off old adhesive with a scraper (also try your angle grinder or a brass brush attachment for your power drill) in preparation for reinstallation. If you have exposed any rusty areas or removed any paint on the chassis of the bus now is the time to sand it flush if paint or grind it off if rust, do a rust treatment, prime, and paint. Please be patient with your bus and fix every potential future issue before reinstalling windows. Clean all surfaces that will make contact when reinstalled with mineral spirits.
Once you have both bus and windows prepared and clean you can reinstall your windows. There are two go-to products for this task. The first is butyl tape which will squeeze out of the sides of your windows as you install them and make a waterproof seal. Butyl tape is often used as a marine waterproofing product and will do the job very well but it does not have strong adhesive qualities which should be okay because your windows are screwed in place. The second option is Sikaflex 221 which is likely a similar product to the adhesive used to install the windows in the first place. It is waterproof, reacts well to fluctuating temperatures and has a very strong adhesive quality. Don’t expect to be able to pry your windows off again for many many years. In the end we decided to use butyl tape, but it did squeeze out of the sides of our windows for a long time, and Sikaflex 221 may have been the better option.
Now if you are removing windows and starting fresh the task is simple but not easy to accomplish. The first step is to remove windows as stated above. On most buses above the windows is an “eyebrow” which is riveted to the steel vertical beams to the left and right of it. In order to slip your new exterior walls underneath those eyebrows you will have to drill out and remove those rivets above every window. You will also need to patiently remove your bump guards underneath the windows. You may find at the front and rear of your run of windows on either side you may have other rivets to remove that you can slide your steel behind for a strong and waterproof seal, or you may be attaching your panels to the side of the bus where there are no rivets. Both are fine.
Now measure the length of your run of windows as well as the height and head to your metal supply house and buy 20 gauge cold roll sheet metal that will accommodate your dimensions. You should also consider an adhesive for between the vertical steel supports and your sheet metal which could reduce road noise, but you could skip the extra work and expense and your wall panels certainly won’t be going anywhere. If you are purchasing sheet metal from a supplier that can make cuts in house consider paying a little extra to have them cut your sheets to the perfect width because they will be well equipped with the tools to do so. If you are making your own cuts however you can do it with a pair of straight tin snips, or you can use your angle grinder with a cut-off wheel. Your cuts generally don’t have to be perfect as they will be hidden by the eyebrows at the top and the bump guard at the bottom, but be sure your vertical cuts at the front and back of your window run looks very clean. You will also need hundreds of rivets which you can buy at the sheet metal supplier, a dozen drill bits that are the appropriate size for your rivets and perhaps a large handful of Clecos which are temporary fasteners similar to rivets that can be removed. You can use them to hold your sheets in place before you are ready to drill all of your holes and install your rivets.
Once you have your panels cut to size and laid out with the correct dimensions, your bus prepped, and all of your tools to drill and rivet your sheets in place you will be well served by recruiting some helpers for this next task. You need to hoist those large sheets in place, slide them behind your eyebrows, drill a couple of holes in strategic places for fastening, and hold them in place with a handful of rivets or clecos. I would do this for every sheet while you have helpers. Once all of your sheets are in place you can go back and layout all of the holes to attach your steel securely to each vertical support on the bus, drill through the sheets and the supports with the correct size drill bit for your rivets, and then rivet your new bus walls in to place. Yes this is going to take an incredible amount of effort and a lot of time! But when you’re done you will have a rock solid waterproof bus ready for you to cut in new RV windows. Be sure to prime your new steel ASAP as it will soon begin to rust.
Now that it’s up to you to pick and install RV windows for your bus (which can be expensive) you have a great deal of liberty in deciding what windows to install, where to put them and how you’d like them to function. Take your time and find the perfect setup for you whether that’s brand new windows, used windows from an RV scrap yard, or new old stock on Ebay.com etc. You can also use residential windows as well if you can find the right type for your application (consider buying hurricane rated glass and/or perhaps safety glass).
0 Comments